Flixnet theme, Part 3: Using API data
Finally, the time has come to replace the placeholder elements with actual content. Let's start by using the real collection data. According to the API reference, collections can be accessed and selected through api.collections, which we can use as the model of a ListView (or any other View).
Vertical axis
First, find the ListView for the collection axis and change its model property:
ListView {
    id: collectionAxis

    // ...

    model: api.collections
    delegate: collectionAxisDelegate

    // ...
}
Previously the model was set to 10, and so the modelData available in the delegates was a number between 0 and 9. With model set to api.collections, the modelData will be a Collection object.
A Collection always has a name, so let's show that:
Component {
    id: collectionAxisDelegate

    Item {
        // ...

        Text {
            id: label

            text: modelData.name
            color: "white"
            font.pixelSize: vpx(18)
            font.family: globalFonts.sans

            // ...
        }

        ListView {
            id: gameAxis

            // ...
        }
    }
}
Tip
If the name of the modelData property you use (in this case name) don't collide with other properties of the object, it's not required to type out modelData: you can simply write text: name.
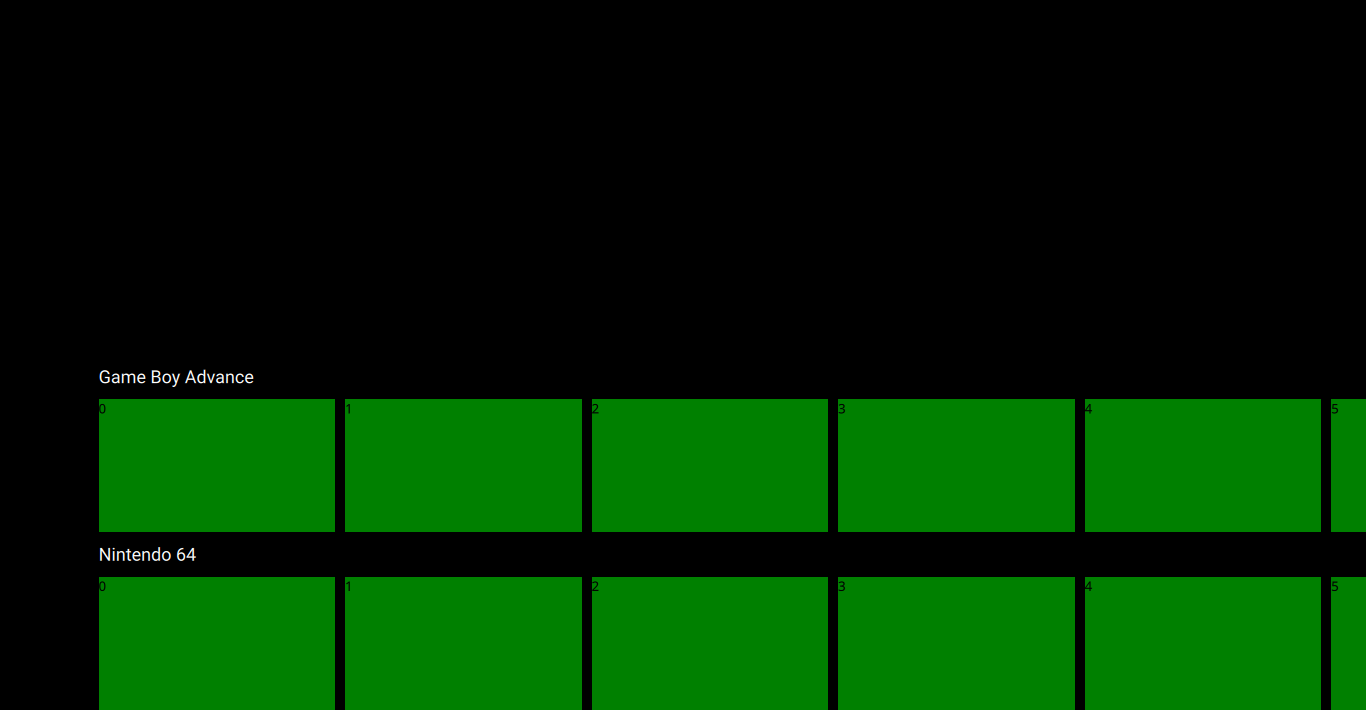
After a refresh, you should see the names of collections appearing in Pegasus.
Horizontal axis
Now let's show the game titles in the horizontal rectangles. Every Collection has a games member that holds list of games associated with the collection. Let's use it in the horizontal axis (collectionAxisDelegate):
Component {
    id: collectionAxisDelegate

    Item {
        // ...

        Text {
            id: label

            // ...
        }

        ListView {
            id: gameAxis

            // ...

            model: modelData.games
            delegate: gameAxisDelegate
            spacing: vpx(10)

            // ...
        }
    }
}
And now the Views scroll properly, with the real data!
Game items
With the previous changes, gameAxisDelegate is now a visual representation for a Game element. A Game always has a title, so we can simply set it as the text:
Component {
    id: gameAxisDelegate

    Rectangle {
        width: vpx(240)
        height: vpx(135)

        color: "green"

        Text {
            text: modelData.title
        }
    }
}
Help
The model of the vertical ListView was a list of Collections, so the modelData received by a delegate of that ListView (one whole horizontal row) is one Collection object.
The model of these horizontal ListViews is a list of Games, so a delegate of the horizontal ListViews will see a Game in its modelData.
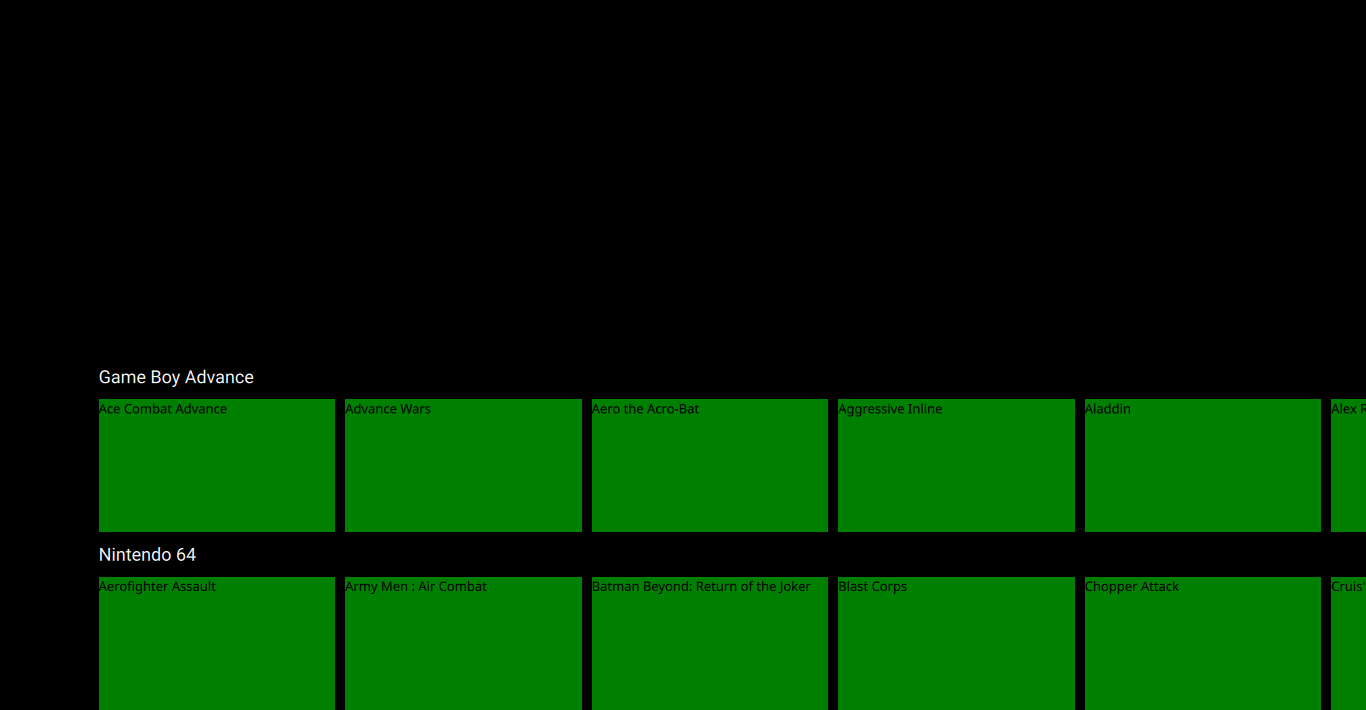
And now the game names also show up in Pegasus:
Launching games
Now that the game selection items are in sync with the API, we can actually launch games! To launch a game, we just have to call its launch() function. Let's make it so when Enter is pressed the current game is launched:
ListView {
    id: collectionAxis

    // ...

    focus: true
    Keys.onLeftPressed: currentItem.axis.decrementCurrentIndex()
    Keys.onRightPressed: currentItem.axis.incrementCurrentIndex()
    Keys.onReturnPressed: ???.launch()
}
Hm, but how do we access that game in the first place? All Views have a currentIndex property that tells us which item is currently selected, and we can use this with the get() function available in the models that come from the API.
The current game is the currently selected game of the currently selected collection, which we can write like this:
Keys.onReturnPressed: api.collections.get(currentIndex).games.get(currentItem.currentIndex).launch()
Which, while works, is a tiny bit long to type out. To make things simpler, let's add a currentGame field to the game axis:
ListView {
    id: gameAxis

    property var currentGame: modelData.games.get(currentIndex) // or just 'model.get(...)'

    // ...
With that, we can reduce the line to just this:
Keys.onLeftPressed: currentItem.axis.decrementCurrentIndex()
Keys.onRightPressed: currentItem.axis.incrementCurrentIndex()
Keys.onReturnPressed: currentItem.axis.currentGame.launch()
Looks better (well, at least to me, your mileage may vary).
Help
Careful not to confuse the onReturnPressed and onEnterPressed calls: technically Return is the key next to the letters, while Enter is the one on the numeric keypad.
And with this, technically our theme is fully functional!
Gamepads and custom configurations
Now you might wonder, "how can I make it work with a gamepad?" or "what if I changed the keyboard layout?". We want to launch the game when any key or button set for "accepting things" is pressed. For this we can add a general input check using Keys.onPressed, and test whether this key/button press event is recognized using the keys-related API functions:
Keys.onLeftPressed: currentItem.axis.decrementCurrentIndex()
Keys.onRightPressed: currentItem.axis.incrementCurrentIndex()
Keys.onPressed: {
    if (api.keys.isAccept(event))
        currentItem.axis.currentGame.launch();
}
With all that, navigation should now work well in our theme. Next step, let's make it pretty!
The code so far
The code so far
import QtQuick 2.0

FocusScope {

    ListView {
        id: collectionAxis

        anchors.left: parent.left
        anchors.right: parent.right
        anchors.top: parent.verticalCenter
        anchors.bottom: parent.bottom

        model: api.collections
        delegate: collectionAxisDelegate

        snapMode: ListView.SnapOneItem
        highlightRangeMode: ListView.StrictlyEnforceRange
        clip: true

        focus: true
        Keys.onLeftPressed: currentItem.axis.decrementCurrentIndex()
        Keys.onRightPressed: currentItem.axis.incrementCurrentIndex()
        Keys.onPressed: {
            if (api.keys.isAccept(event))
                currentItem.axis.currentGame.launch();
        }
    }

    Component {
        id: collectionAxisDelegate

        Item {

            width: ListView.view.width
            height: vpx(180)

            Text {
                id: label

                text: modelData.name
                color: "white"
                font.pixelSize: vpx(18)
                font.family: globalFonts.sans

                height: vpx(45)
                verticalAlignment: Text.AlignVCenter

                anchors.left: parent.left
                anchors.leftMargin: vpx(100)
            }

            ListView {
                id: gameAxis

                property var currentGame: modelData.games.get(currentIndex)

                anchors.left: parent.left
                anchors.right: parent.right
                anchors.top: label.bottom
                anchors.bottom: parent.bottom

                orientation: ListView.Horizontal

                model: modelData.gameList.model
                currentIndex: modelData.gameList.index
                delegate: gameAxisDelegate
                spacing: vpx(10)

                snapMode: ListView.SnapOneItem
                highlightRangeMode: ListView.StrictlyEnforceRange

                preferredHighlightBegin: vpx(100)
                preferredHighlightEnd: preferredHighlightBegin + vpx(240)
            }
        }
    }

    Component {
        id: gameAxisDelegate

        Rectangle {
            width: vpx(240)
            height: vpx(135)

            color: "green"

            Text {
                text: modelData.title
            }
        }
    }

}